


Ditch the guilt without sacrificing the flavor!
Dive into my treasure trove of sugar-free recipes and rediscover the joy of indulging.Whether you're diabetic, on a low-carb kick,
or simply seeking healthier alternatives, I've got you covered with a mouthwatering assortment of dishes!
Get Free Recipes In Your Mailbox!
Sign up to receive my free weekly newsletter full of great recipe ideas!
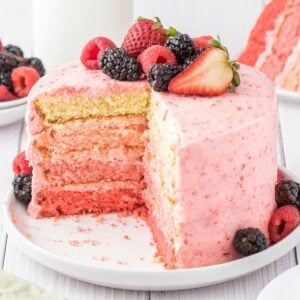
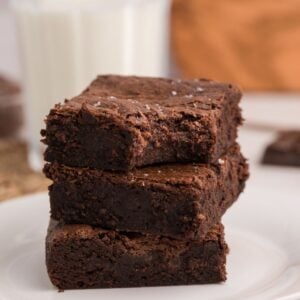
trending recipes we love.

new recipe ideas to try.
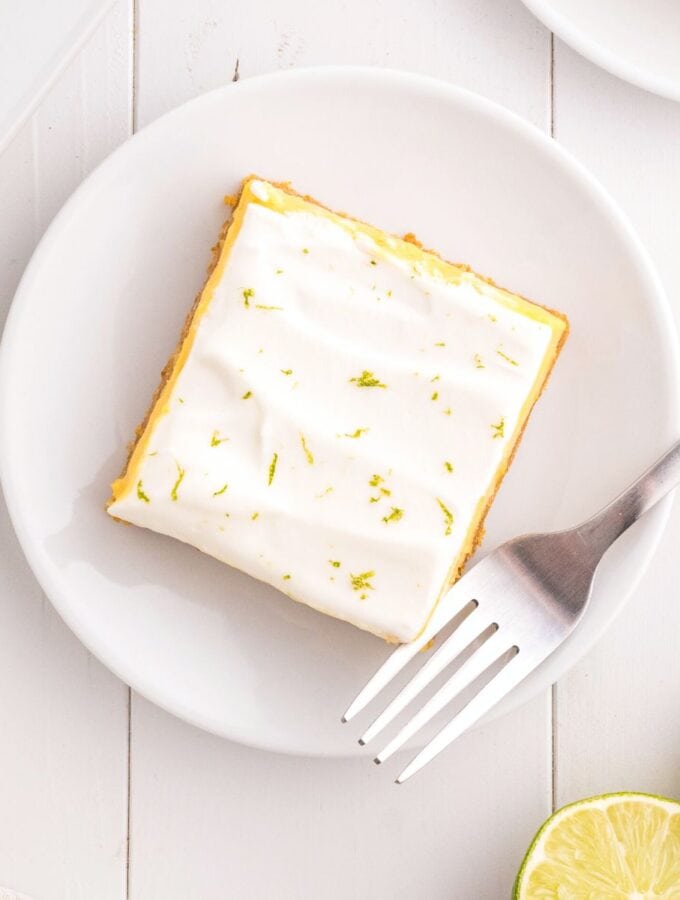
- Sugar Free Key Lime Bars
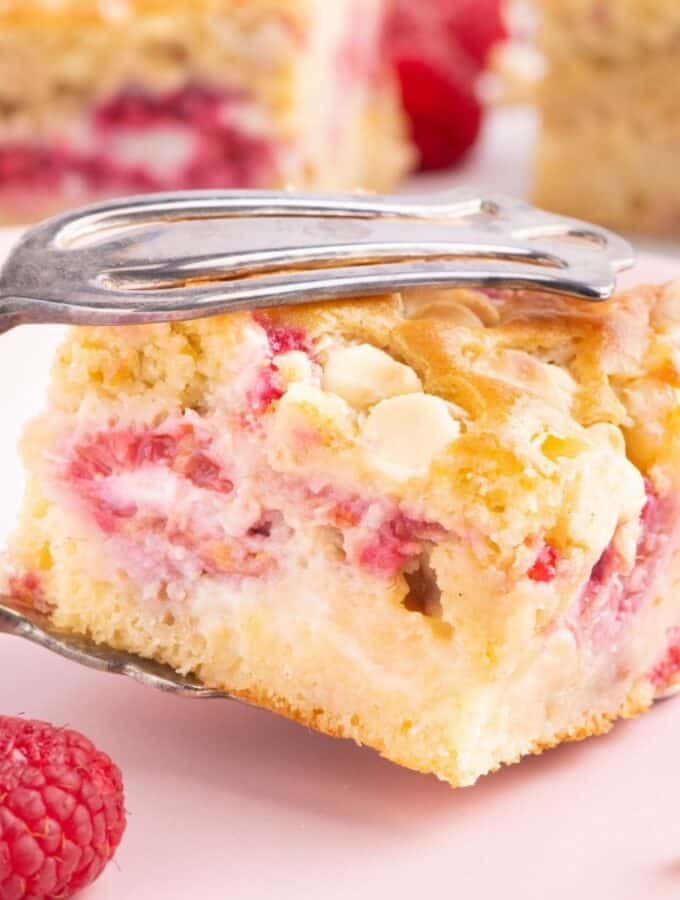
- Sugar Free Raspberry Coffee Cake
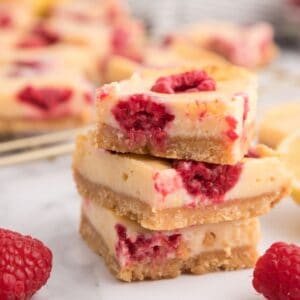
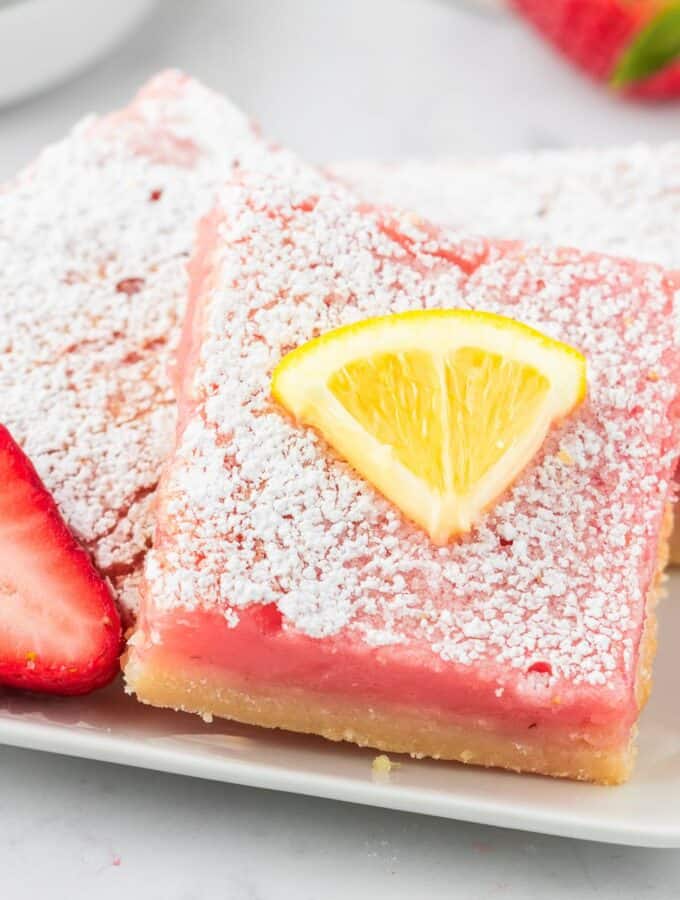
- Sugar Free Strawberry Lemonade Bars
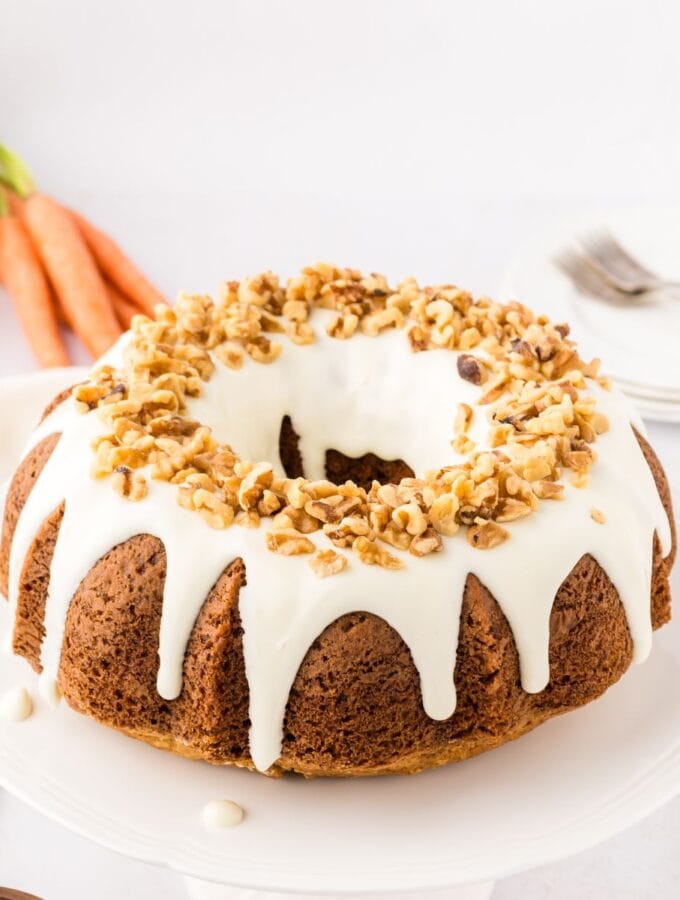
- Sugar Free Carrot Bundt Cake
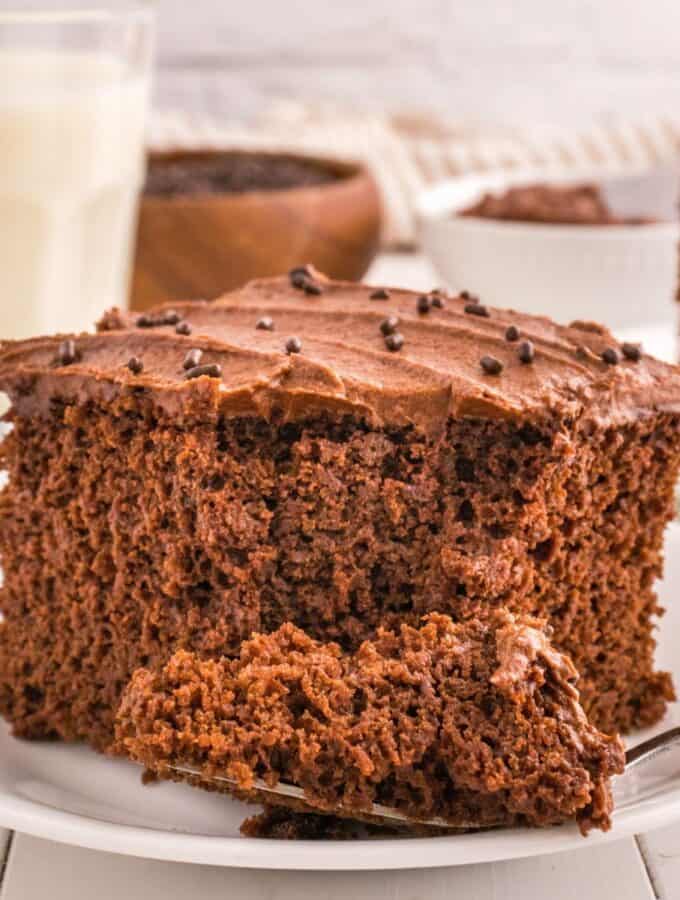
- The Best Sugar Free Chocolate Cake
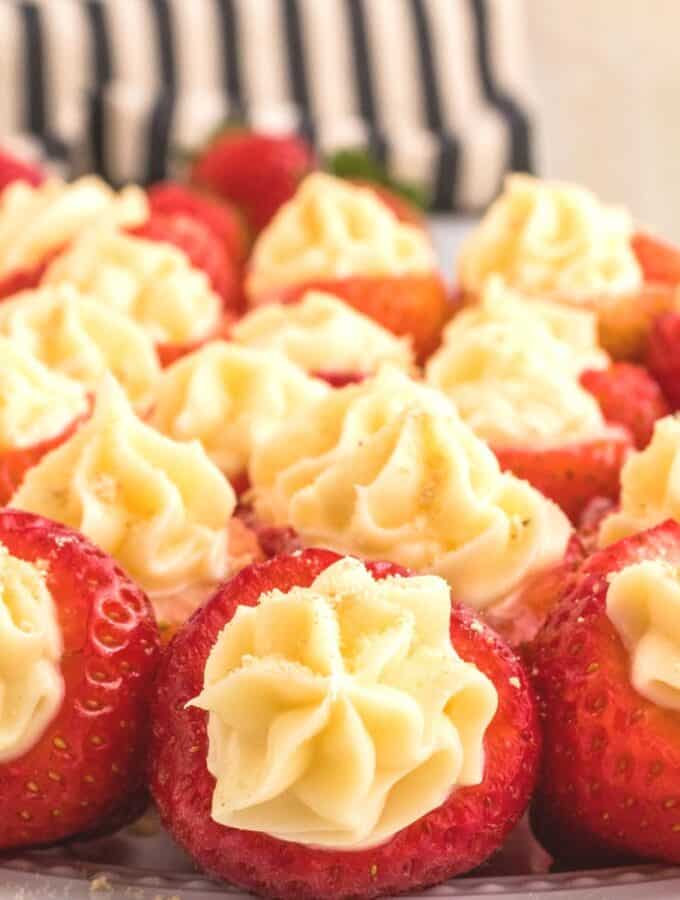
- No Added Sugar Cheesecake Stuffed Strawberries
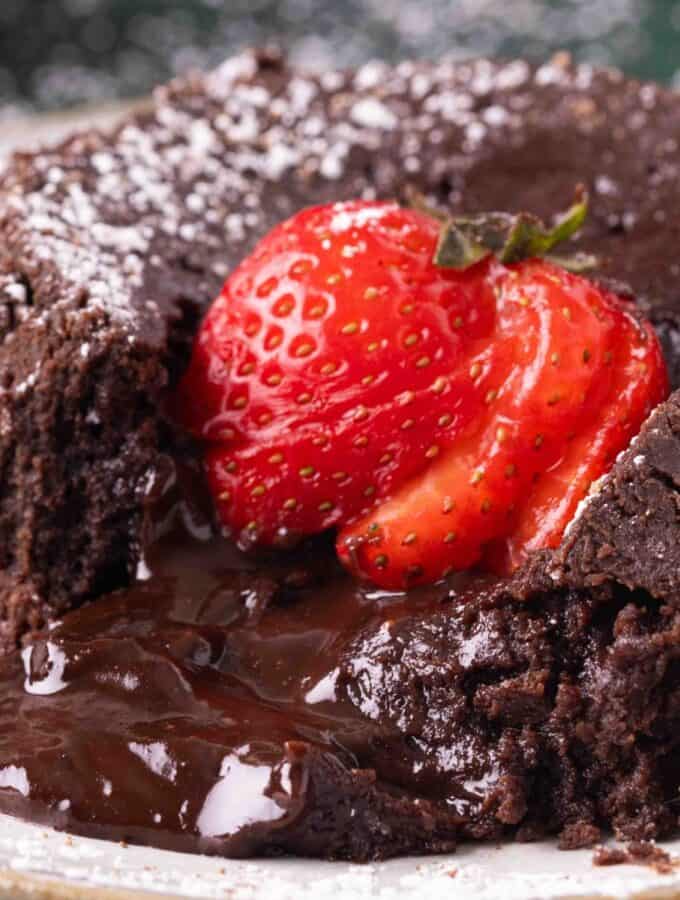
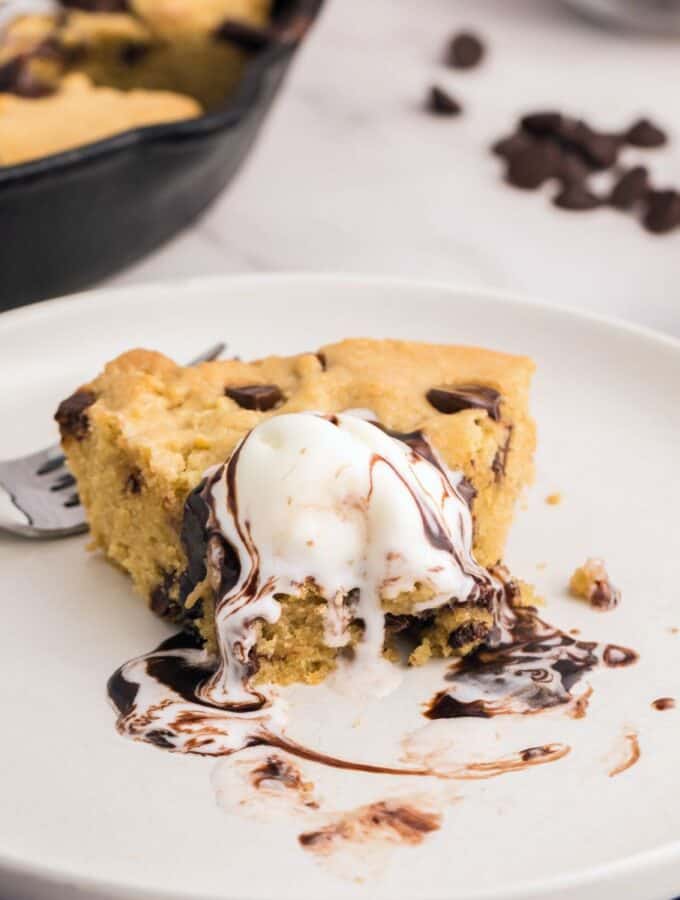
- Sugar Free Molten Chocolate Cakes
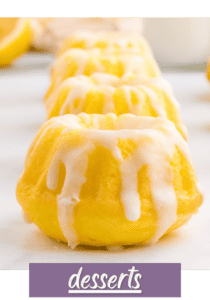
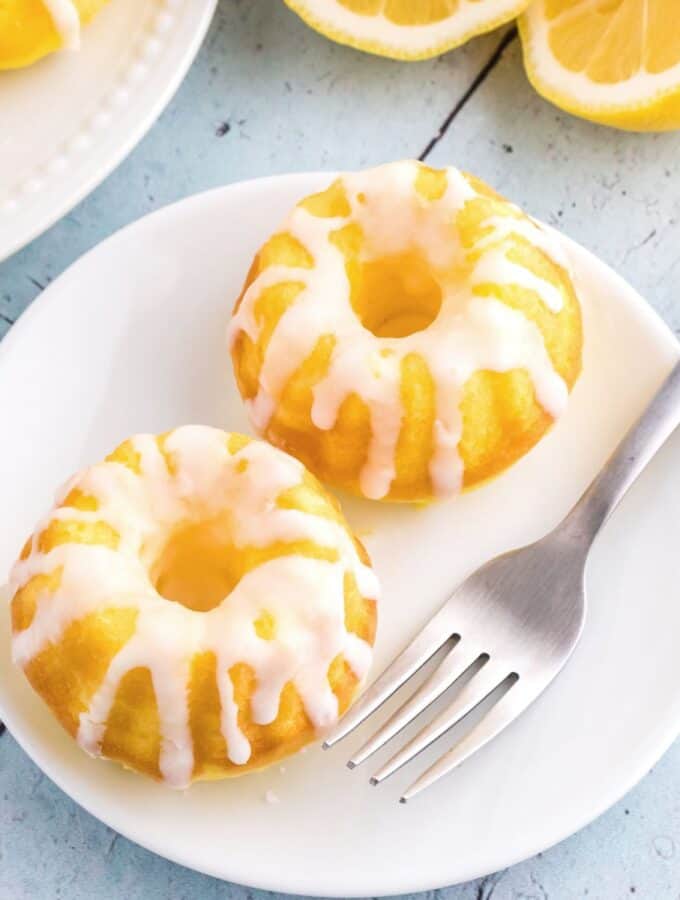
- Sugar Free Mini Lemon Bundt Cakes
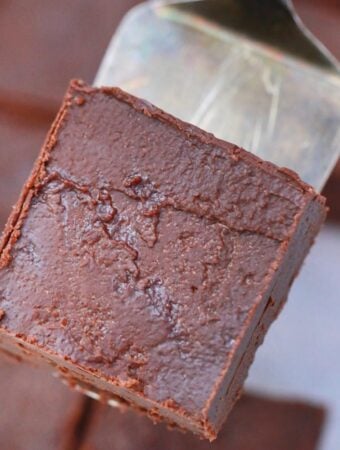
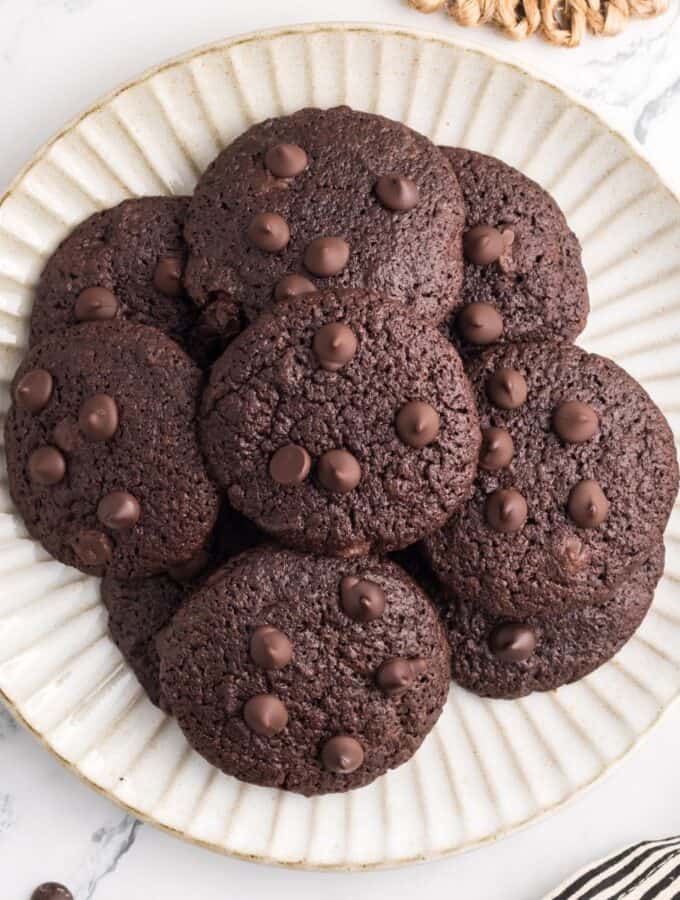
- Sugar Free Fudgy Brownie Cookies
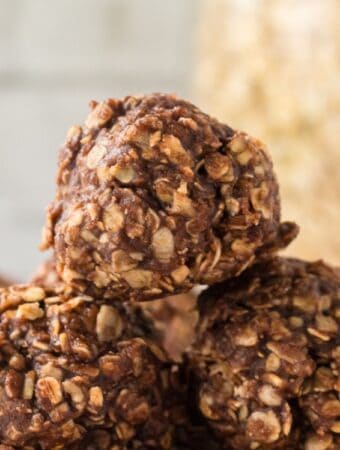
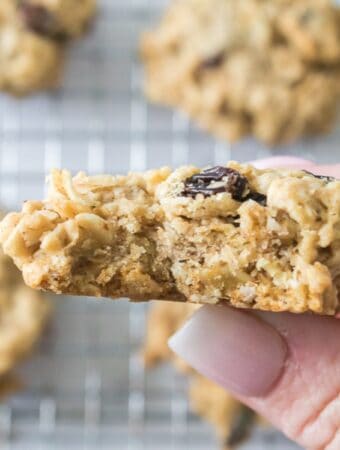
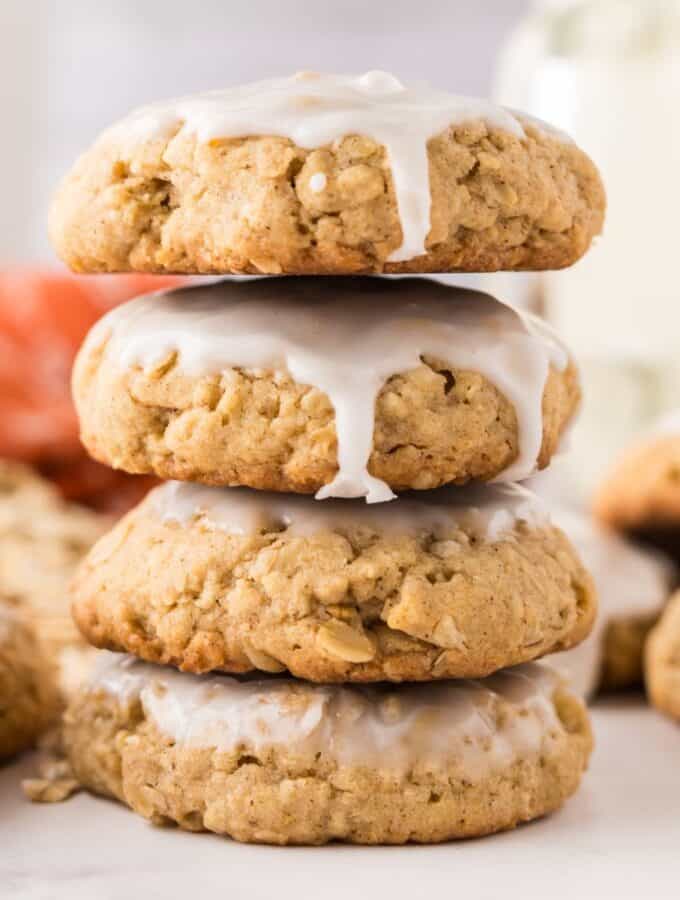
- Sugar Free Iced Oatmeal Cookies
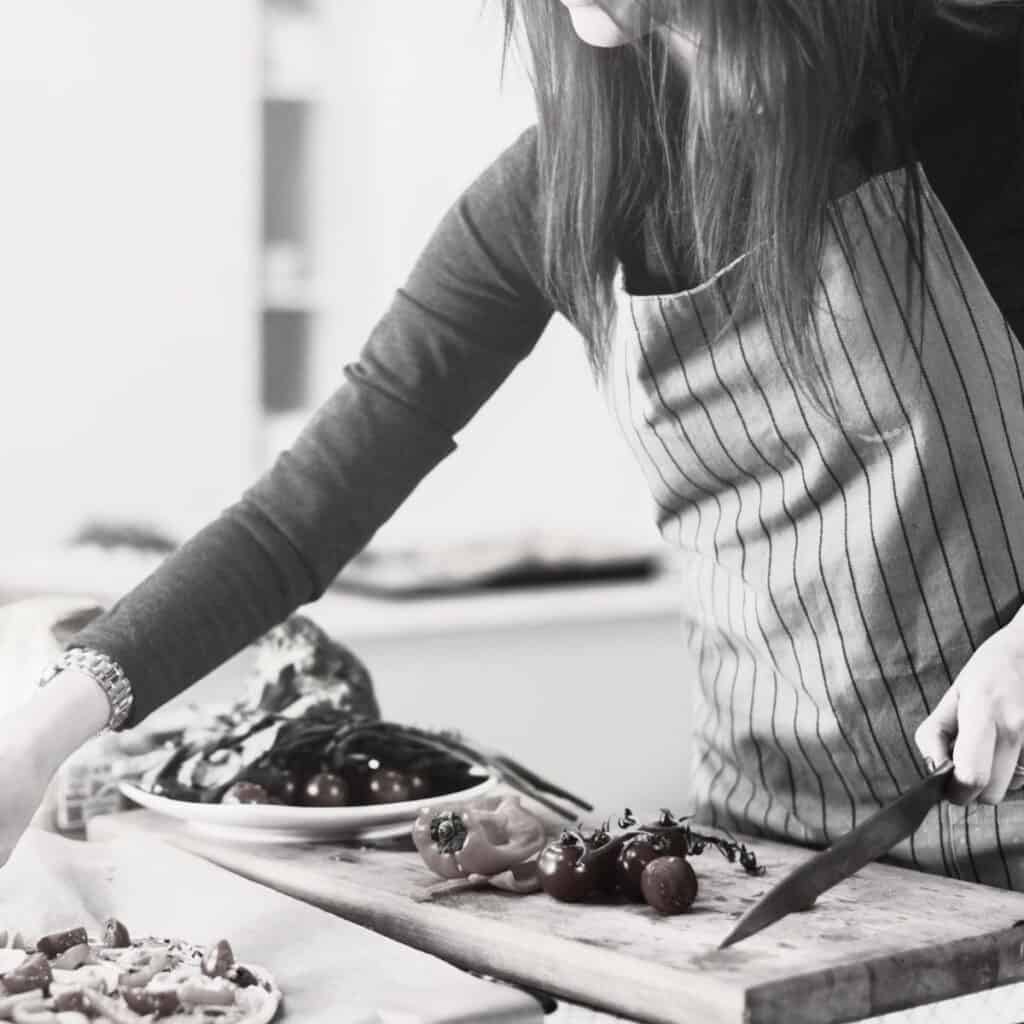
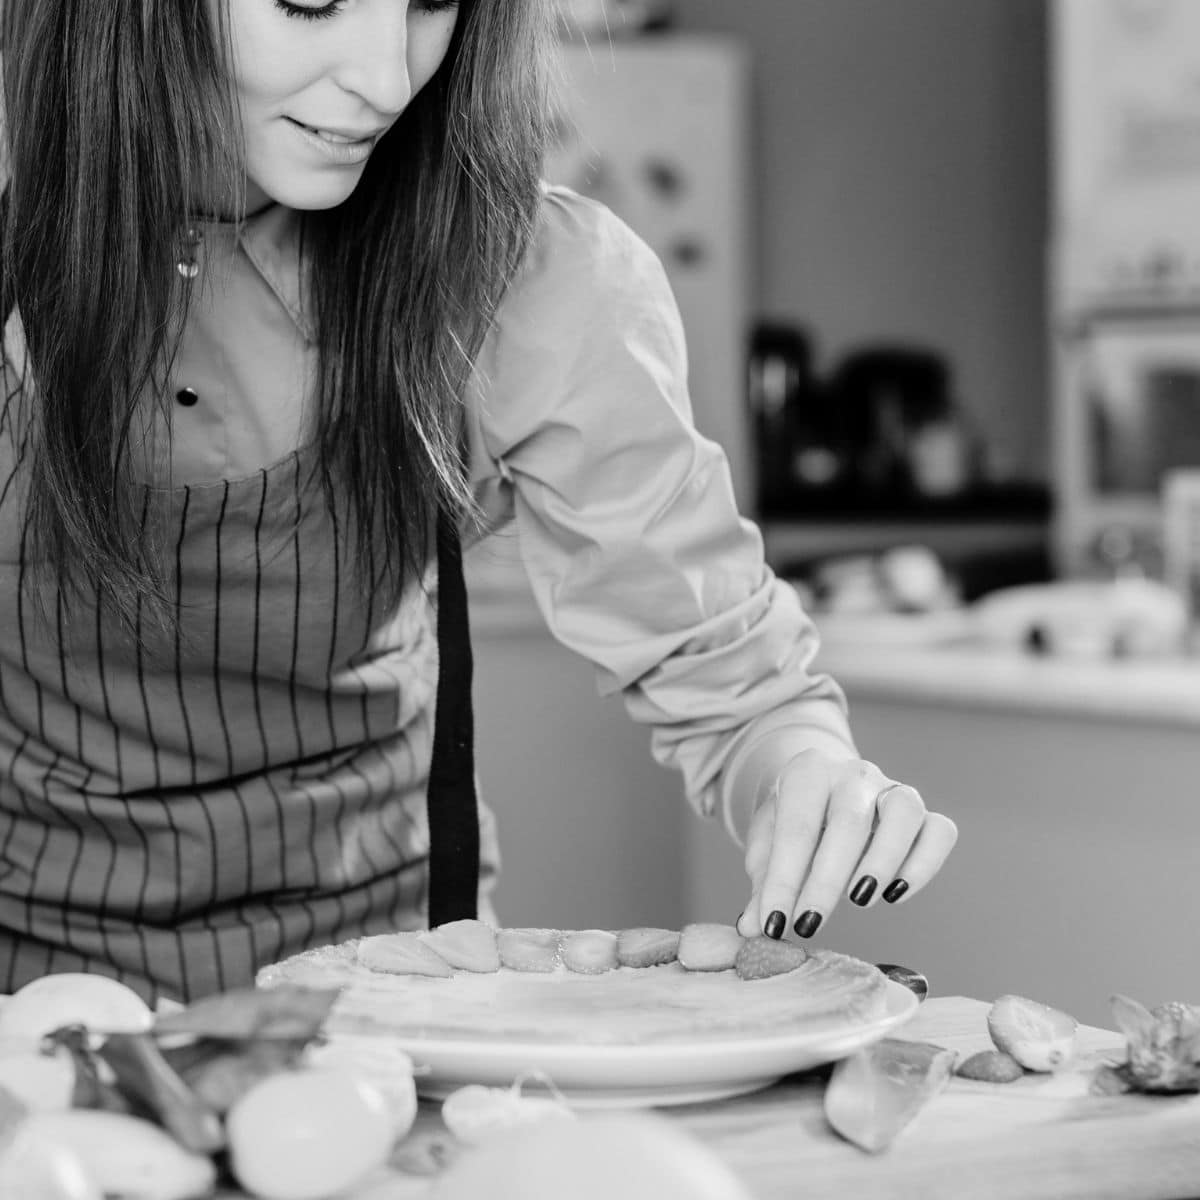
About The Sugar Free Diva
A Reformed Sugar Addict turned author and restaurant owner.
The Sugar Free Diva is also a happy dog owner, chocolate lover, and discreet handbag hoarder.
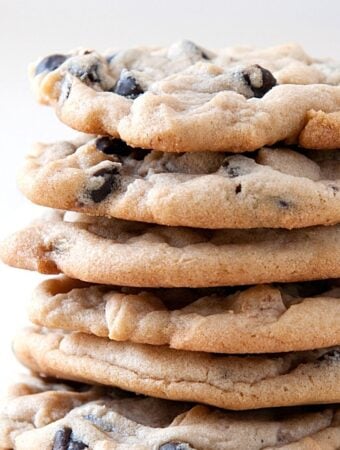
the best sugar free cookie recipes.
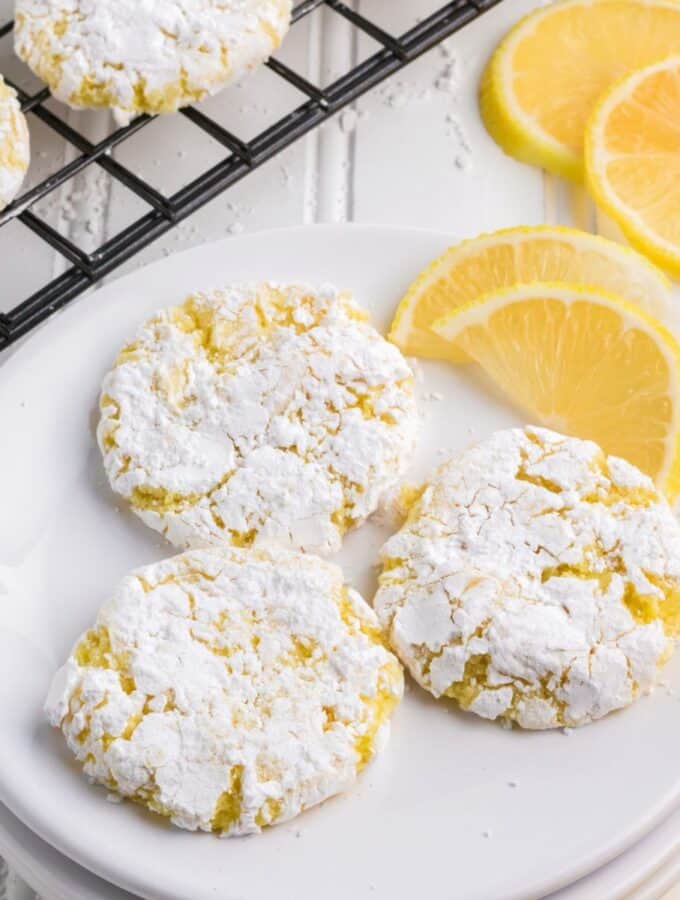
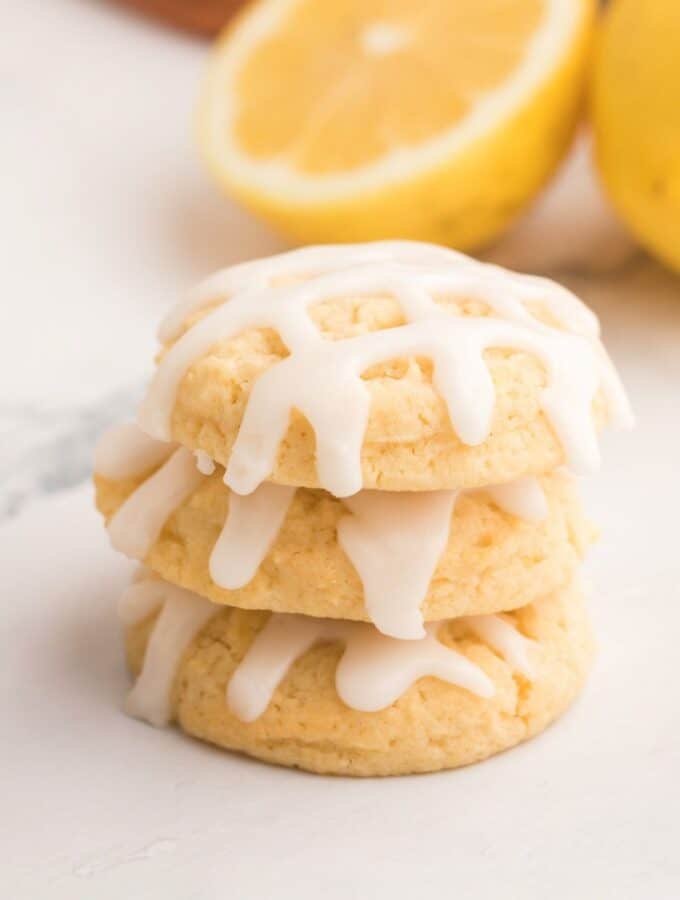

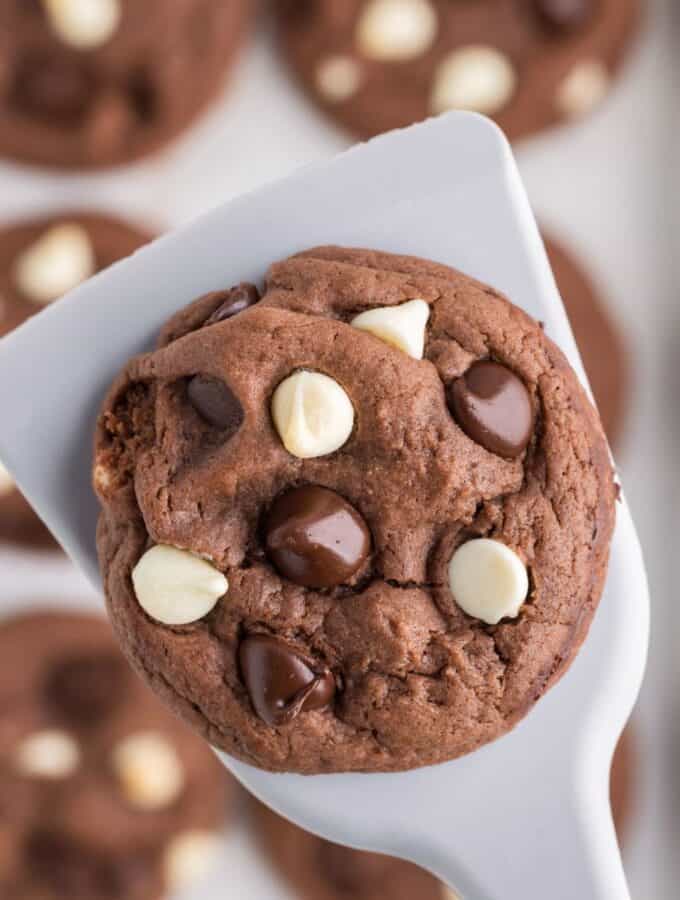
see more sugar free cookie ideas→
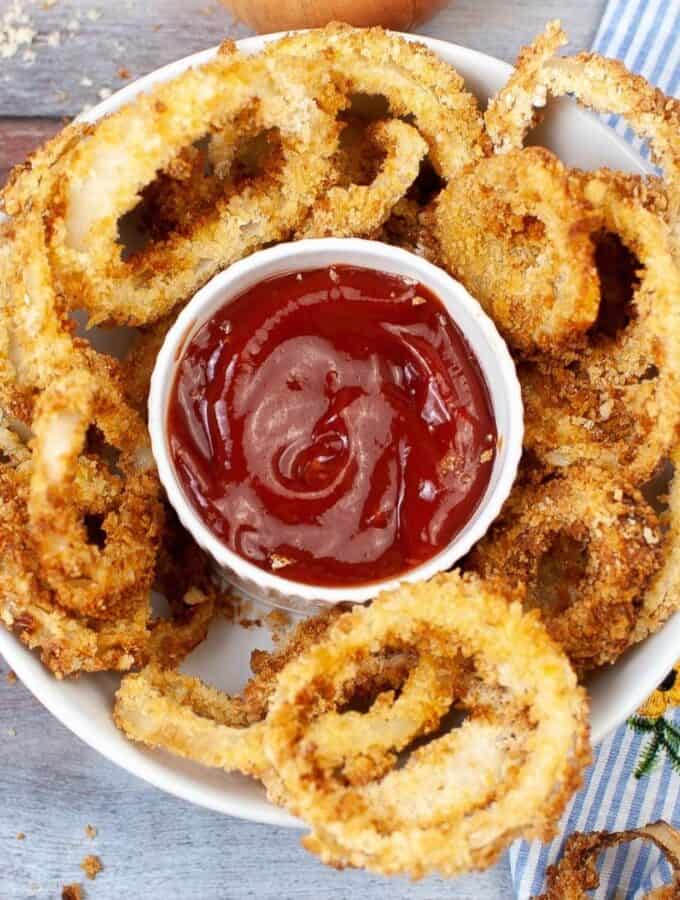
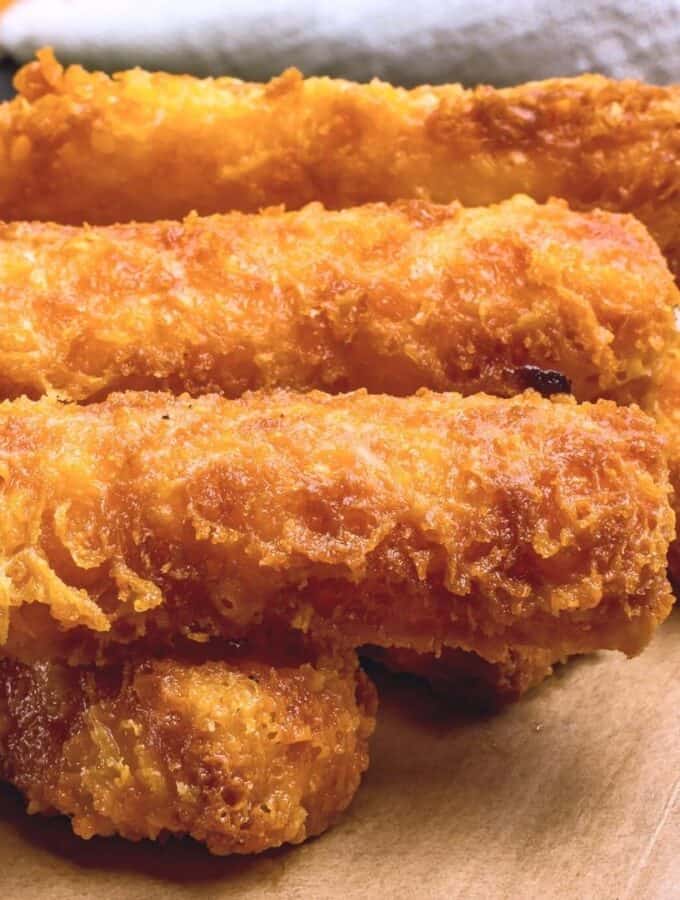
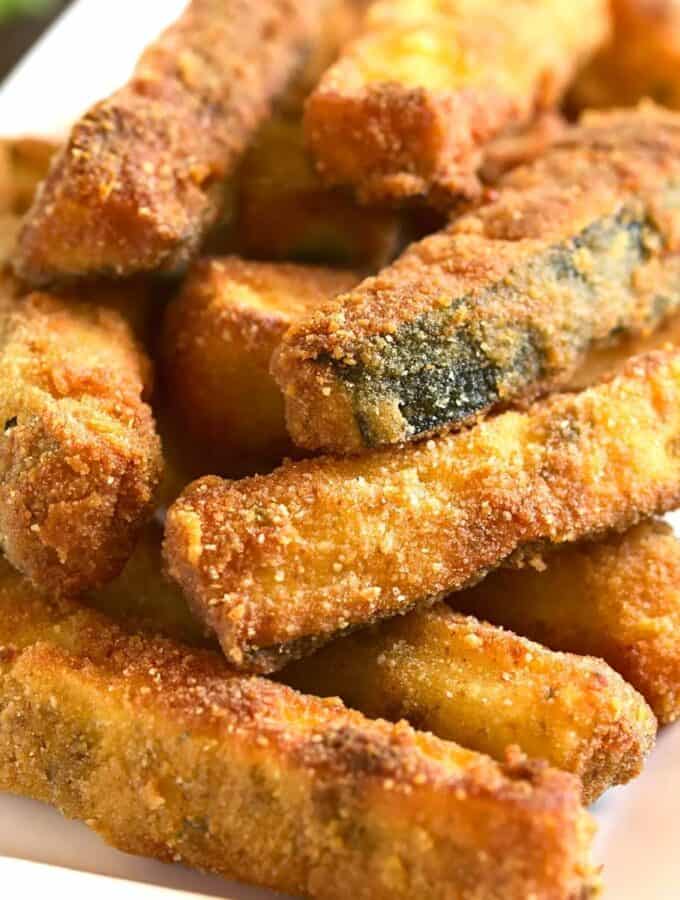
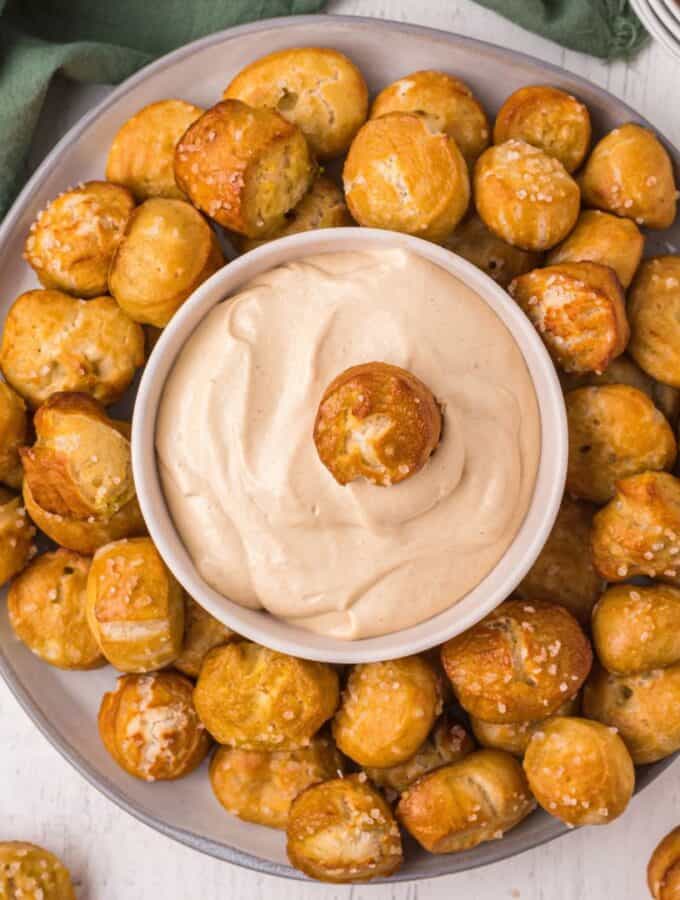
the best air fryer recipes.

the best keto & low carb recipes.
See more keto and low carb recipes→
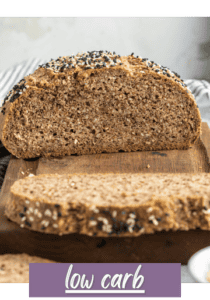
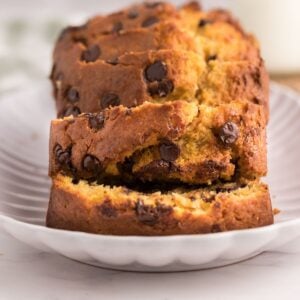
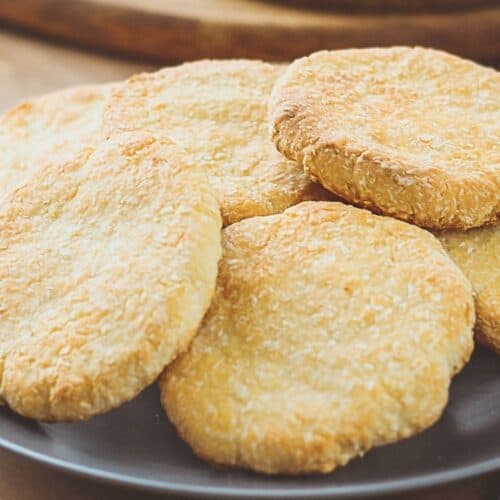
tasty low carbohydrate bread recipes.
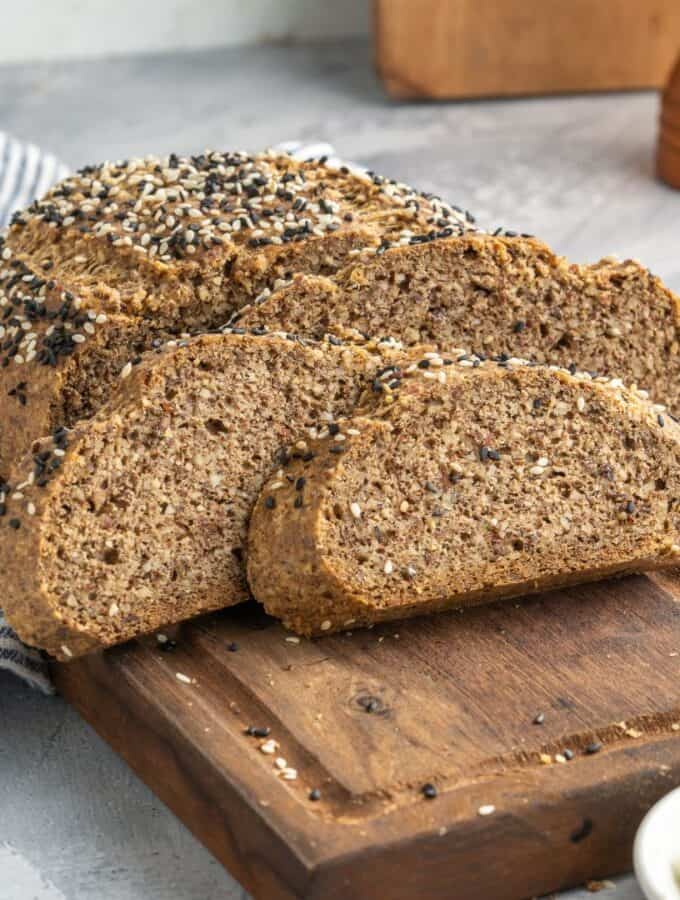
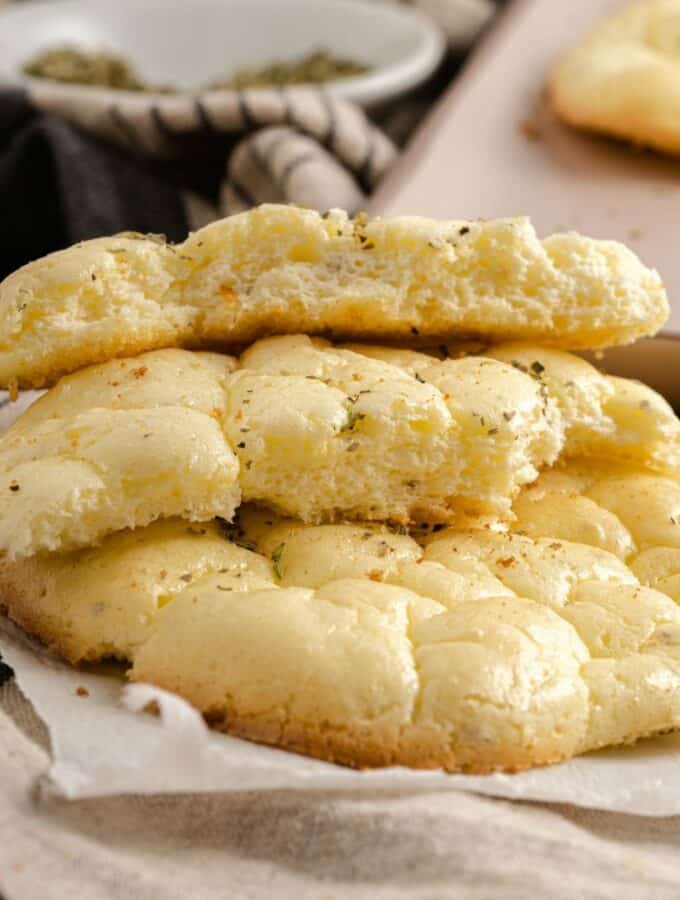
see more low carbohydrate bread ideas→
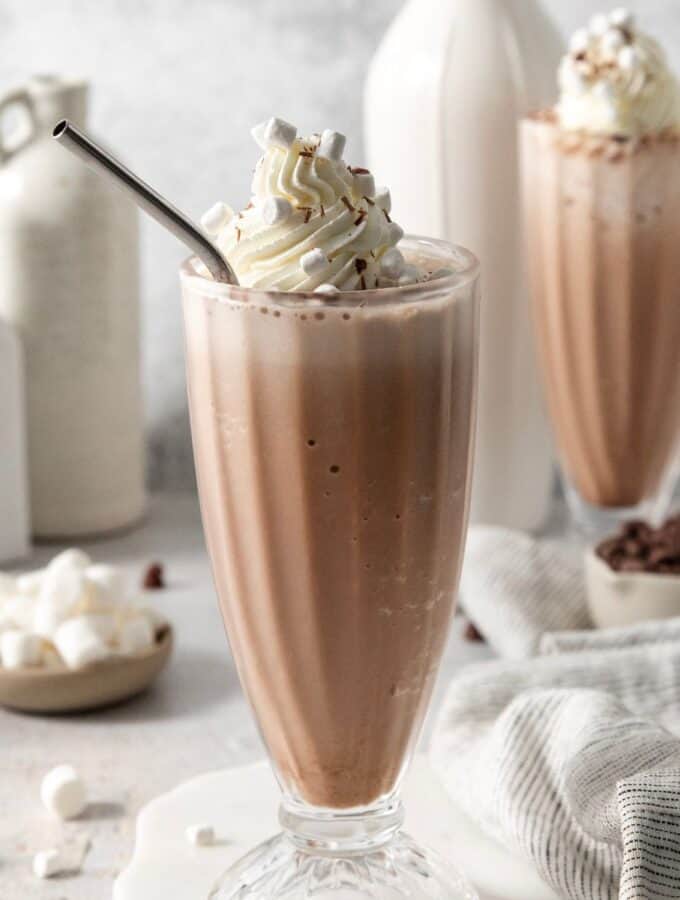
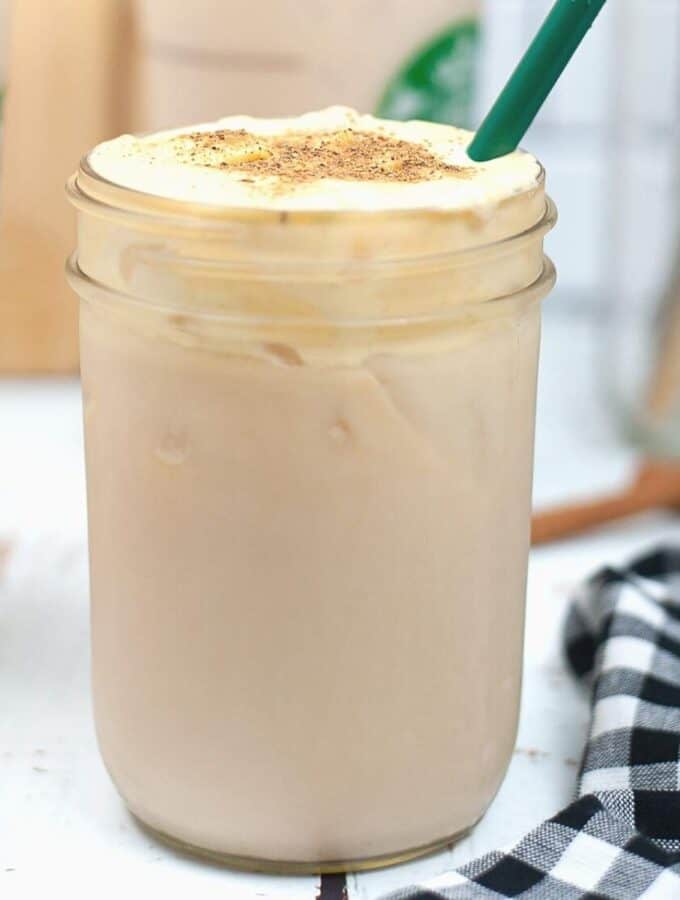
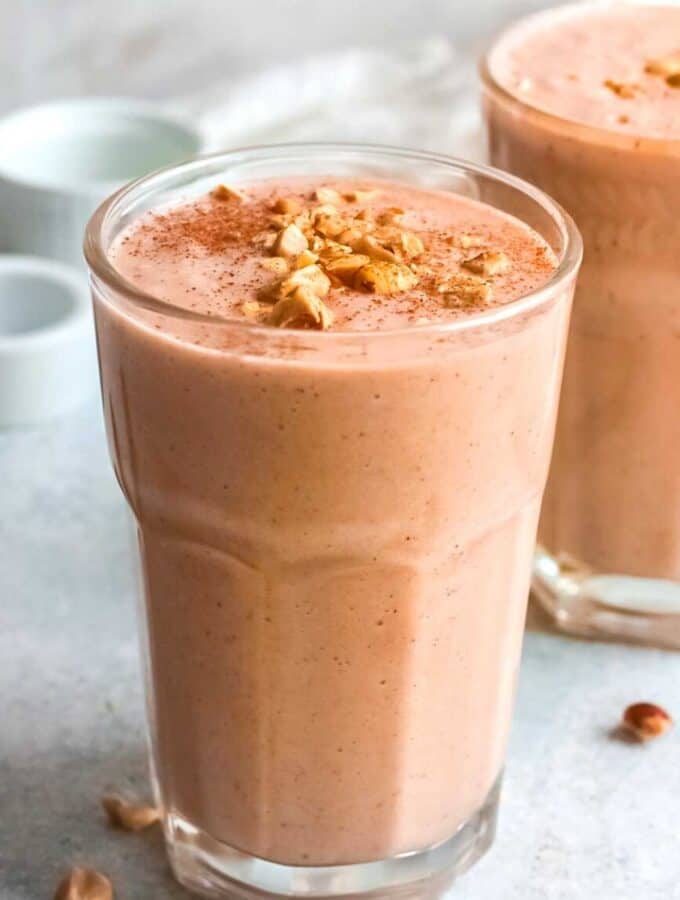
the best sugar free beverages and drinks.
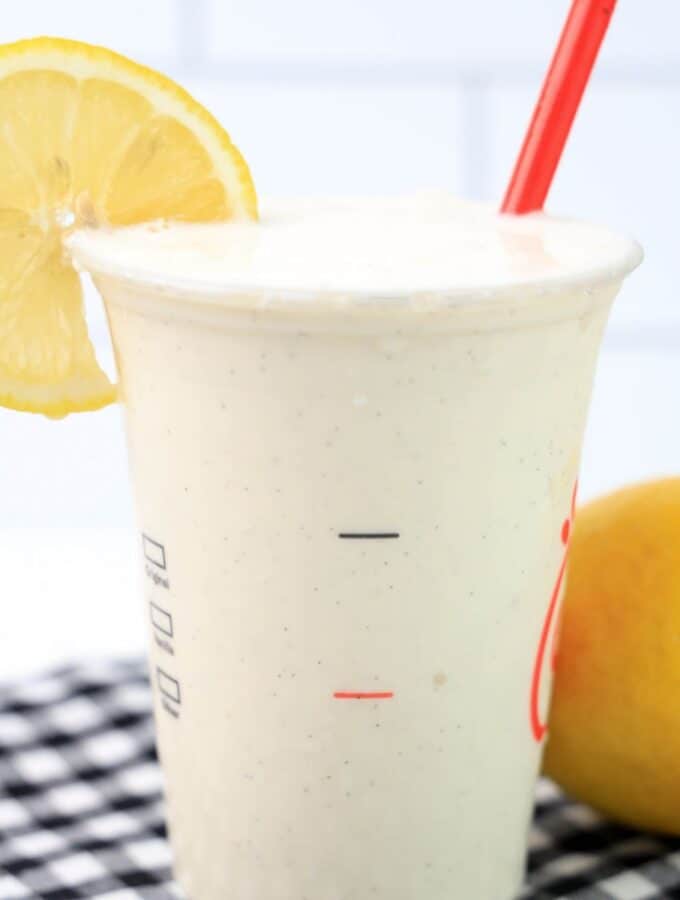
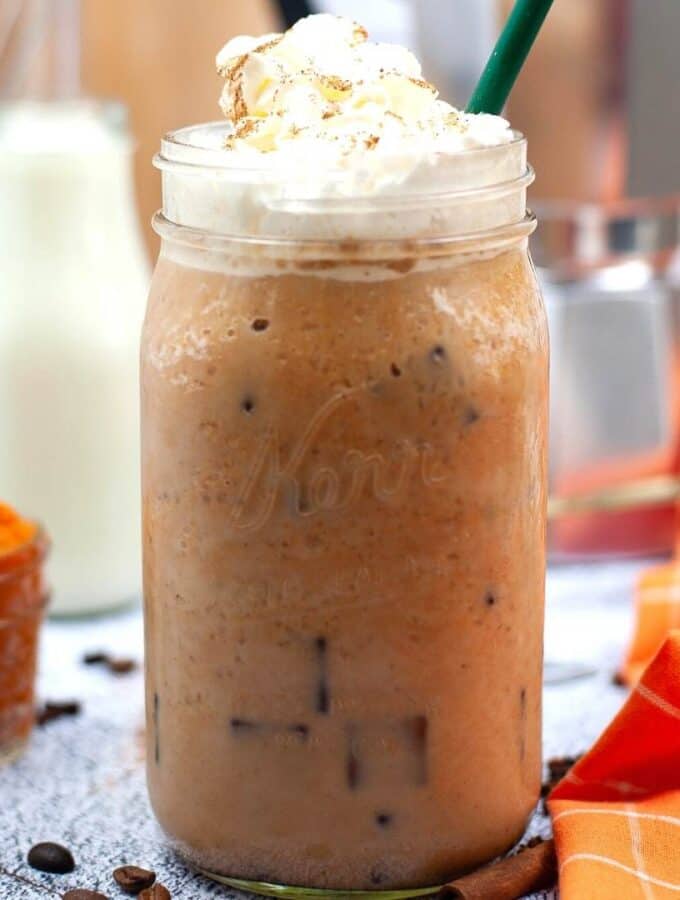
see more great tasting sugar free and low carb beverage and drink recipes→